
It's about time I finished a tutorial.
I've been working on this one for a while.
In between my husband and I selling our life long
family business last fall,
family business last fall,
leaving me (and him) retired from our day jobs,
I realized what burn out really is.
As well, I am still missing my dear friend Missy....
2017 sadly closed with the loss of two of my friends.
Gather your friends and family, hold them close,
you never know when you'll say goodbye.
Then months of burying myself into drafting, writing, and editing
patterns for my friend, penny mat master and cohort,
Cee Rafuse of Early Style Penny Rugs.
Cee Rafuse of Early Style Penny Rugs.
Good therapy.
Now here I am into 2018,
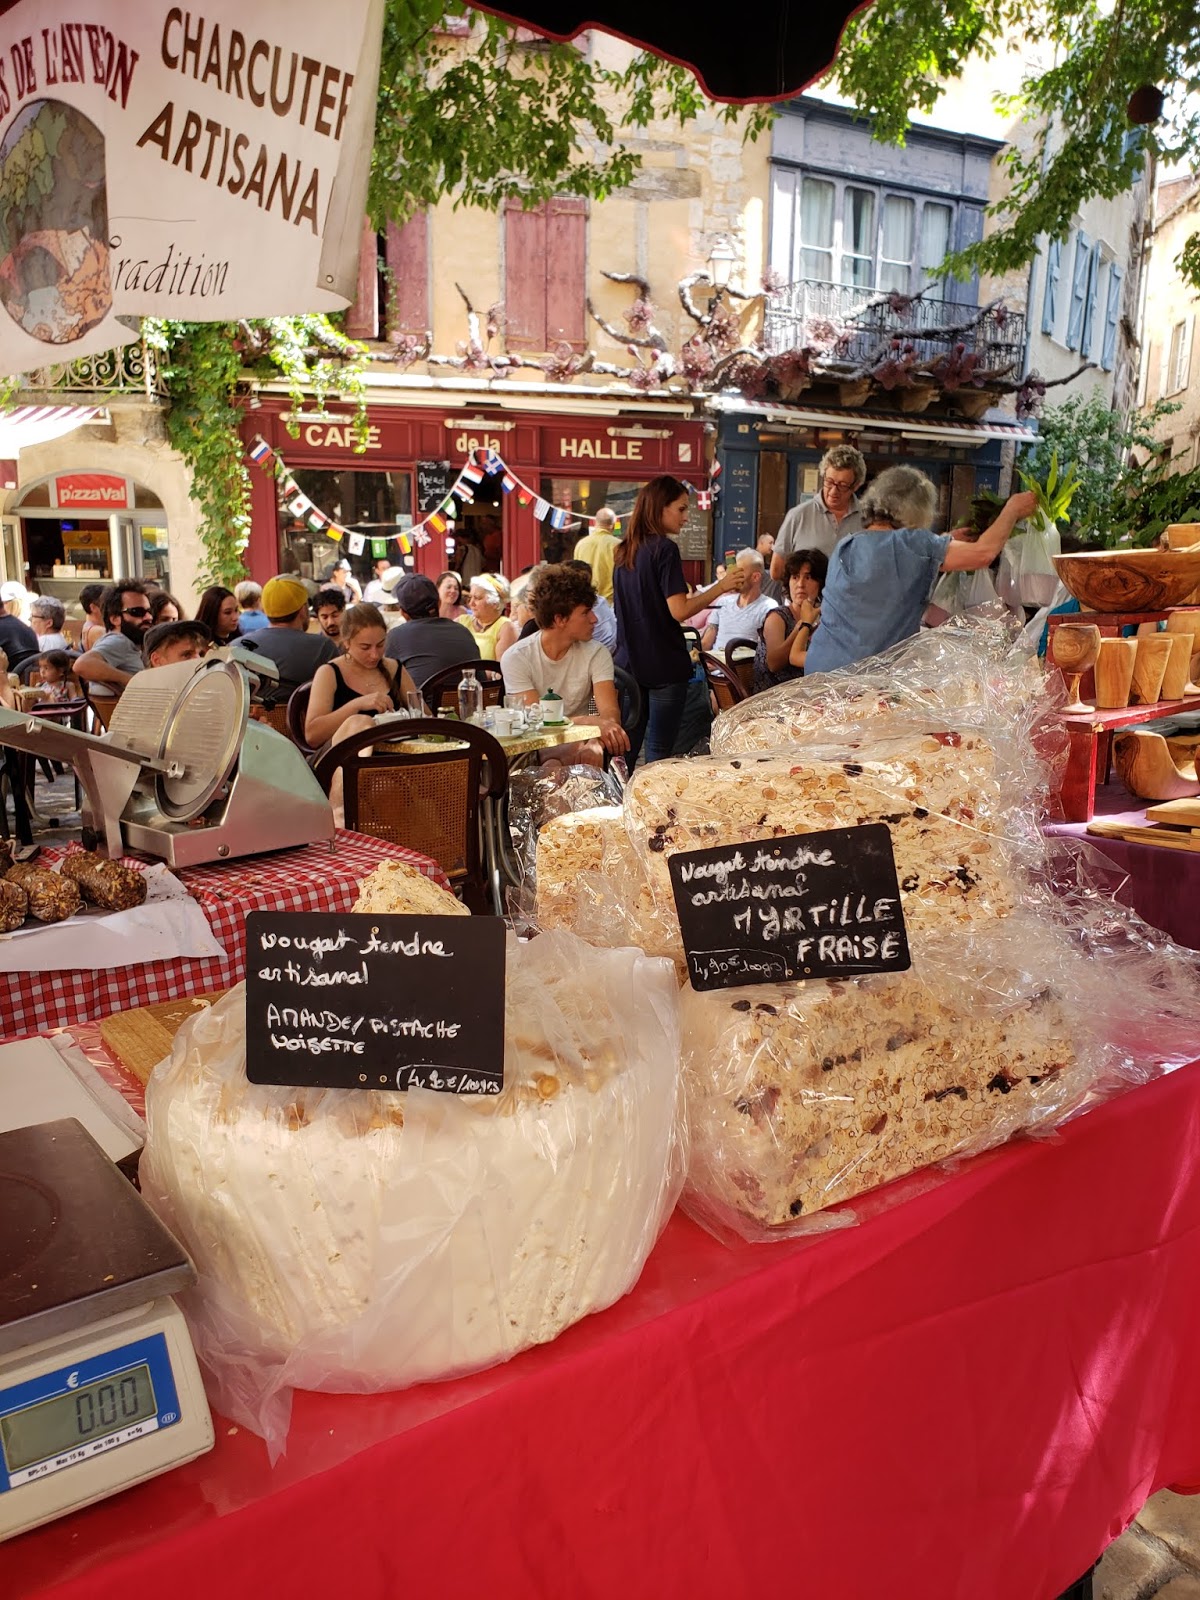
happy and relaxed after a fabulous creative retreat in France.
There I indulged and was spoiled with 15 creative women that I did not know.
All at the beautiful Chateau Dumas in Toulouse, France.
Heaven on earth and a new formed sisterhood.
Something better than good.
I think I can turn the corner now and
be what I've been longing to be again....creative.
be what I've been longing to be again....creative.
You my friends get a "two-fer"
Pictures of France and a tutorial all in one!


VOILA!
 |
| (I really am a goof) |
Now for that long overdue tutorial:
 |
| A random layout of greens and reds (because I love red) |
 | ||
| I taped the rows and numbered them so I wouldn't forget my random layout. |
Which was a good thing considering how long this project waited for me.
 |
| Center row basted down. |
 |
| Tip; I remove some of the "stick" of the tape on my jeans before I put it on the wool. |
 |
| Gathered all into one of my many cigar boxes, and there is sat and sat and sat. |
 |
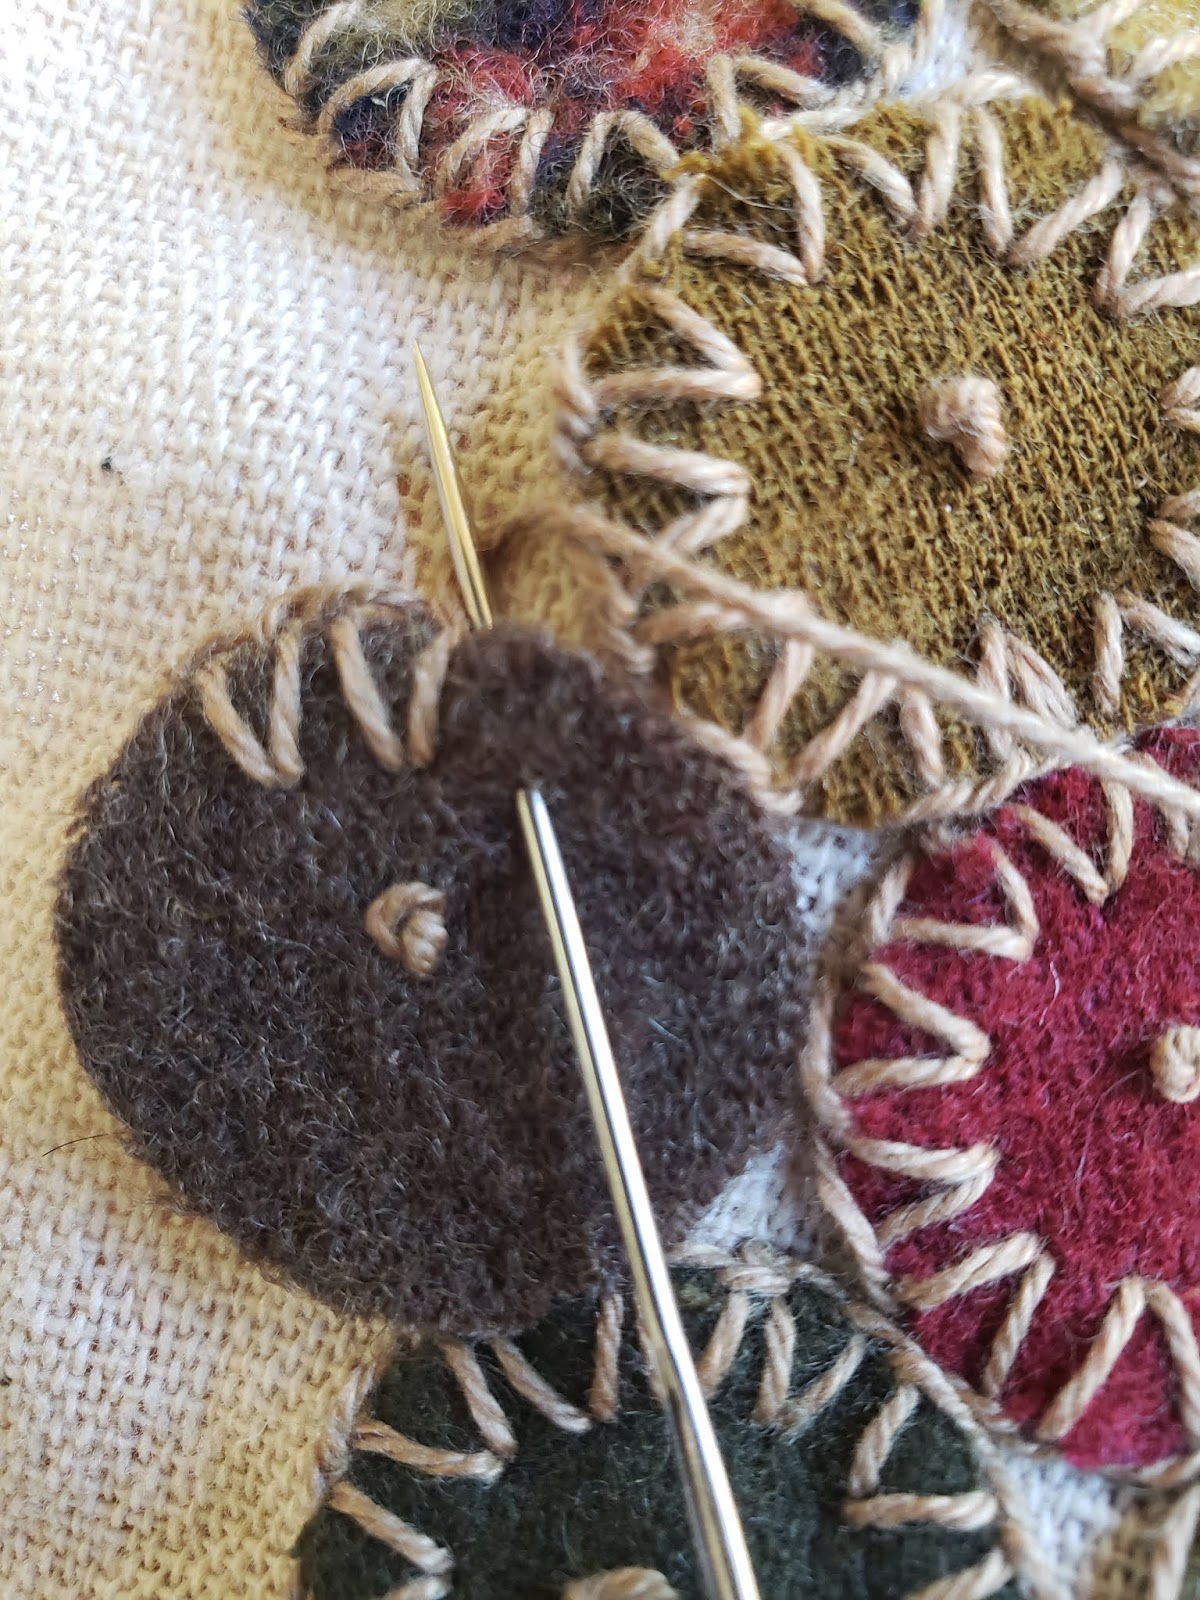
| Stitching again! I am using an overdyed #10 crochet cotton with a #20 Chenille needle. Both are my favourites. |
 |
| Hold the penny in place with a french knot. Apropos, oui mais non? |
 |
| Bring your needle up from below |
 |
| Begin a slanted blanket stitch |
 |
| Here is where you "close" the blanket stitch, join the two bottoms of the stitch in the middle. It looks rather lacey doesn't it? |
 |
| Do you see how it is simply an angled and closed blanket stitch? |
 |
| Doing it again |
 |
| And again |
 |
| End the circle with the needle into the first stitch. |
 |
| So far so good, some pink and orange in there to keep it random. Make your mat any size, you can add or subtract rows. It doesn't have to end in points. Choose your own style. |
No worries, I will show you how I line the back of this rug
and hide all those unsightly threads.
Keep going, stitch down the rows that you neatly taped and set aside.
Tip; notice here that I placed a stitch holding row number 12 tape as a marker.

The marker is so that I would know which end is which, and which way is up.
You can be really random and just pick a penny from your stash,
just keep stitching them down.
 |
| DONE! |
 |
| Apply masking tape to all sides to create an even cutting edge. |
 |
| Trim away the excess using the tape as a guide. Gently remove the tape. |
 |
| Lay right side down onto a fabric for the backing. |
 |
| Trim away excess backing fabric, matching the size of penny mat. |
 |
| Pin well, allow an opening to turn to right side. |
 |
| Sew all sides, not too close to the finished pennies. Pivot at corners and remember to leave an opening on one side of about 3 - 4 inches for turning. |
 |
| Here is my opening. |
 |
| Trim the seams down to 1/2 or 1/4" and clip corners. After you turn your mat inside out, be careful at the corners. Use something blunt to push them out, GENTLY, don't push through the fabric. Or you can pull them gently from the outside with a strong needle. |
 |
| This is mine turned through the opening and pressed with a warm iron. (Press on the backside, or cover the front with a pressing cloth) |

 |
| Sew the opening closed with a ladder or whip stitch. |

 | |||||||||
| ENJOY! |
Find real wool pennies in my Etsy Shop

Yours, Colleen
Perfection. I love that stitch. Saved to my penny folder which oddly enough has a lot of you in it : D
ReplyDeleteBTW Fabulous photo of you!
This stitch looks like lace, I love it. Thanks so much Suzan!
DeleteOh la la ! Love this slant stitch :0)
ReplyDeleteLooks like you had a wonderful time in France, The french really do know how do live and spoil themselves. Happy Sewing and thanks so much for the tutorial.
Hi Kim, you're welcome. It was a great trip!
DeleteSuch a beautiful journey, woman, and rug!
ReplyDeleteHi Linda, thanks so much. :-)
DeleteLoved the tutorial!!
ReplyDeleteThank you Melissa!
DeleteReally beautiful - love the tutorial and your enthusiasm for the trip to France! So glad you managed to recover from diffficult times and that you’re now back on the creative road again ... Hope 2019 brings yet more joyful adventures. Claire
ReplyDeletethank you Claire, yes it's going to be a great year!
DeleteBeautiful! I have to try one!
ReplyDeleteBeautiful! I have to try one!
ReplyDeleteJust beautiful, what a great ptoject. Thanks for sharing.
ReplyDeleteThanks so much. You're very welcom.
DeleteI bought a bag of wool circles at a flea market in France a couple of years age. At the time I didn't have a clue what I would use them for and now I know! New to the Penny Rug idea but your tutorial was a lot of help.
ReplyDeleteWow, I never thought to look for wool at the flea market, kewl! Yep, start sewing into a mat. A great memory of your trip. Thanks Mary.
DeleteLove this! Curious as to what fabric you use to sew the pennies to and for the backing.
ReplyDeleteHi Rayleen, this was an experiment with a rag. Quite literally, but it was one of those purchased ones. My husband has a bag full and I wanted to try it. I found that the open weave, even after washing, was too open. The threads would split and pull as I worked my needle through it. I think that's why it took me so long to finish it. I then was limited to the size of it, as I worked it I did want to make it bigger, but couldn't. I recommend tighter weaves and of course experiment with everything to achieve the look you want. I know of gals that have washed the floors and their cars with the cloth that they then will use to make a mat, a very primitive worn looking mat of course.
DeleteBeautiful pictures! And the tutorial too! Thank you. :)
ReplyDeleteI usually just connect my pennies to each other and when the piece is finished it looks nice against a wood dresser because there are spaces. But I love the way this is attached to a foundation, working as you go, and I love the variation on the blanket stitch. I want to try this method but (perhaps I'm coming in late) I wonder what the foundation cloth is made of and also how the pennies are attached so smoothly. It would seem to involve a frame but I realize it doesn't. Can you tell me more or do you have other articles or website?
ReplyDeleteYour method is quite acceptable. I show that method here on my blog. I have made many mats in that manner, as have other makers. Practice with any base fabric that is easily stitched through. Support the pennies with a small applique pin, ease your stitches around. I stitch with a Chenille needle. Find many lessons here on my blog, in My Tutorials section. I highlight them on Pinterest as well. And if you are on Facebook, you are welcome to join me at The Ladies and Gents of the Wool Circle Club for more tips and tricks. Happy Stitching!
DeleteHi,
ReplyDeleteGreeting from London.
I inspired a lot with your craft work. I have so much over left fabrics I am going to use the technique you shared with us.
Thank you very much God bless you. I wish you a happy, health long life.
All the best. XX
Very happy to hear that you are inspired! Thanks very much for the kind words. Enjoy your projects and stay safe, Colleen.
DeleteBeautiful
ReplyDeleteDear Colleen...I hope that you are still crafting. You are extremely talented! I know it has been tremendously heart chattering during these last few years. But be of good cheer! Stitch by Stitch, step by step, your healing has begun. Isn't it wonderful that we were blessed with such precious folks and things in our lives, to miss so dearly. They are alive in our memories. Loss covered in Love rejoices for the privilege of the once upon a time...
ReplyDelete